Content
Beyond shapes and text, a board can hold icons, sticky notes, tables, code, images, mind maps and frames. Most of them are in the Insert (+) menu on the toolbar.
Icons
Press I, or choose Icon… in the Insert menu, for about 3,400 icons: servers, databases, clouds, devices, people, documents, charts, and brands such as Docker, AWS, Azure, GitHub and OpenAI. Search by name or by what it is for ("storage", "payment", "container"), or browse the groups on the left. Enter places the first result.
The AWS, Google Cloud and Azure groups hold their main services (EC2, Lambda, S3, Cloud Run, BigQuery, Cosmos DB, Key Vault and more), named as the provider names them and drawn in the provider's colour (pick another colour for the box and the icon follows it). Search by service ("lambda") or by provider and purpose ("aws queue", "azure database").
- Nothing selected: the icon is placed as an object of its own, with its name under it. Drag a corner to make it bigger; it keeps its proportions (hold ⇧ to stretch it).
- Boxes selected: the icon goes inside them, above their label, and grows with the box.
Icons are drawn with the same pencil as everything else, follow the box's colour and dark mode, and link like any box. Double-click to change the label. In the command palette, Remove icon takes it off again and Icon: show or hide its box switches between an icon on its own and an icon in a box.
Icons are drawn from Tabler Icons (MIT); the cloud services are Kelvo's own selection, not the providers' official icons. The icon list downloads the first time you open it, then works offline.
Sticky notes
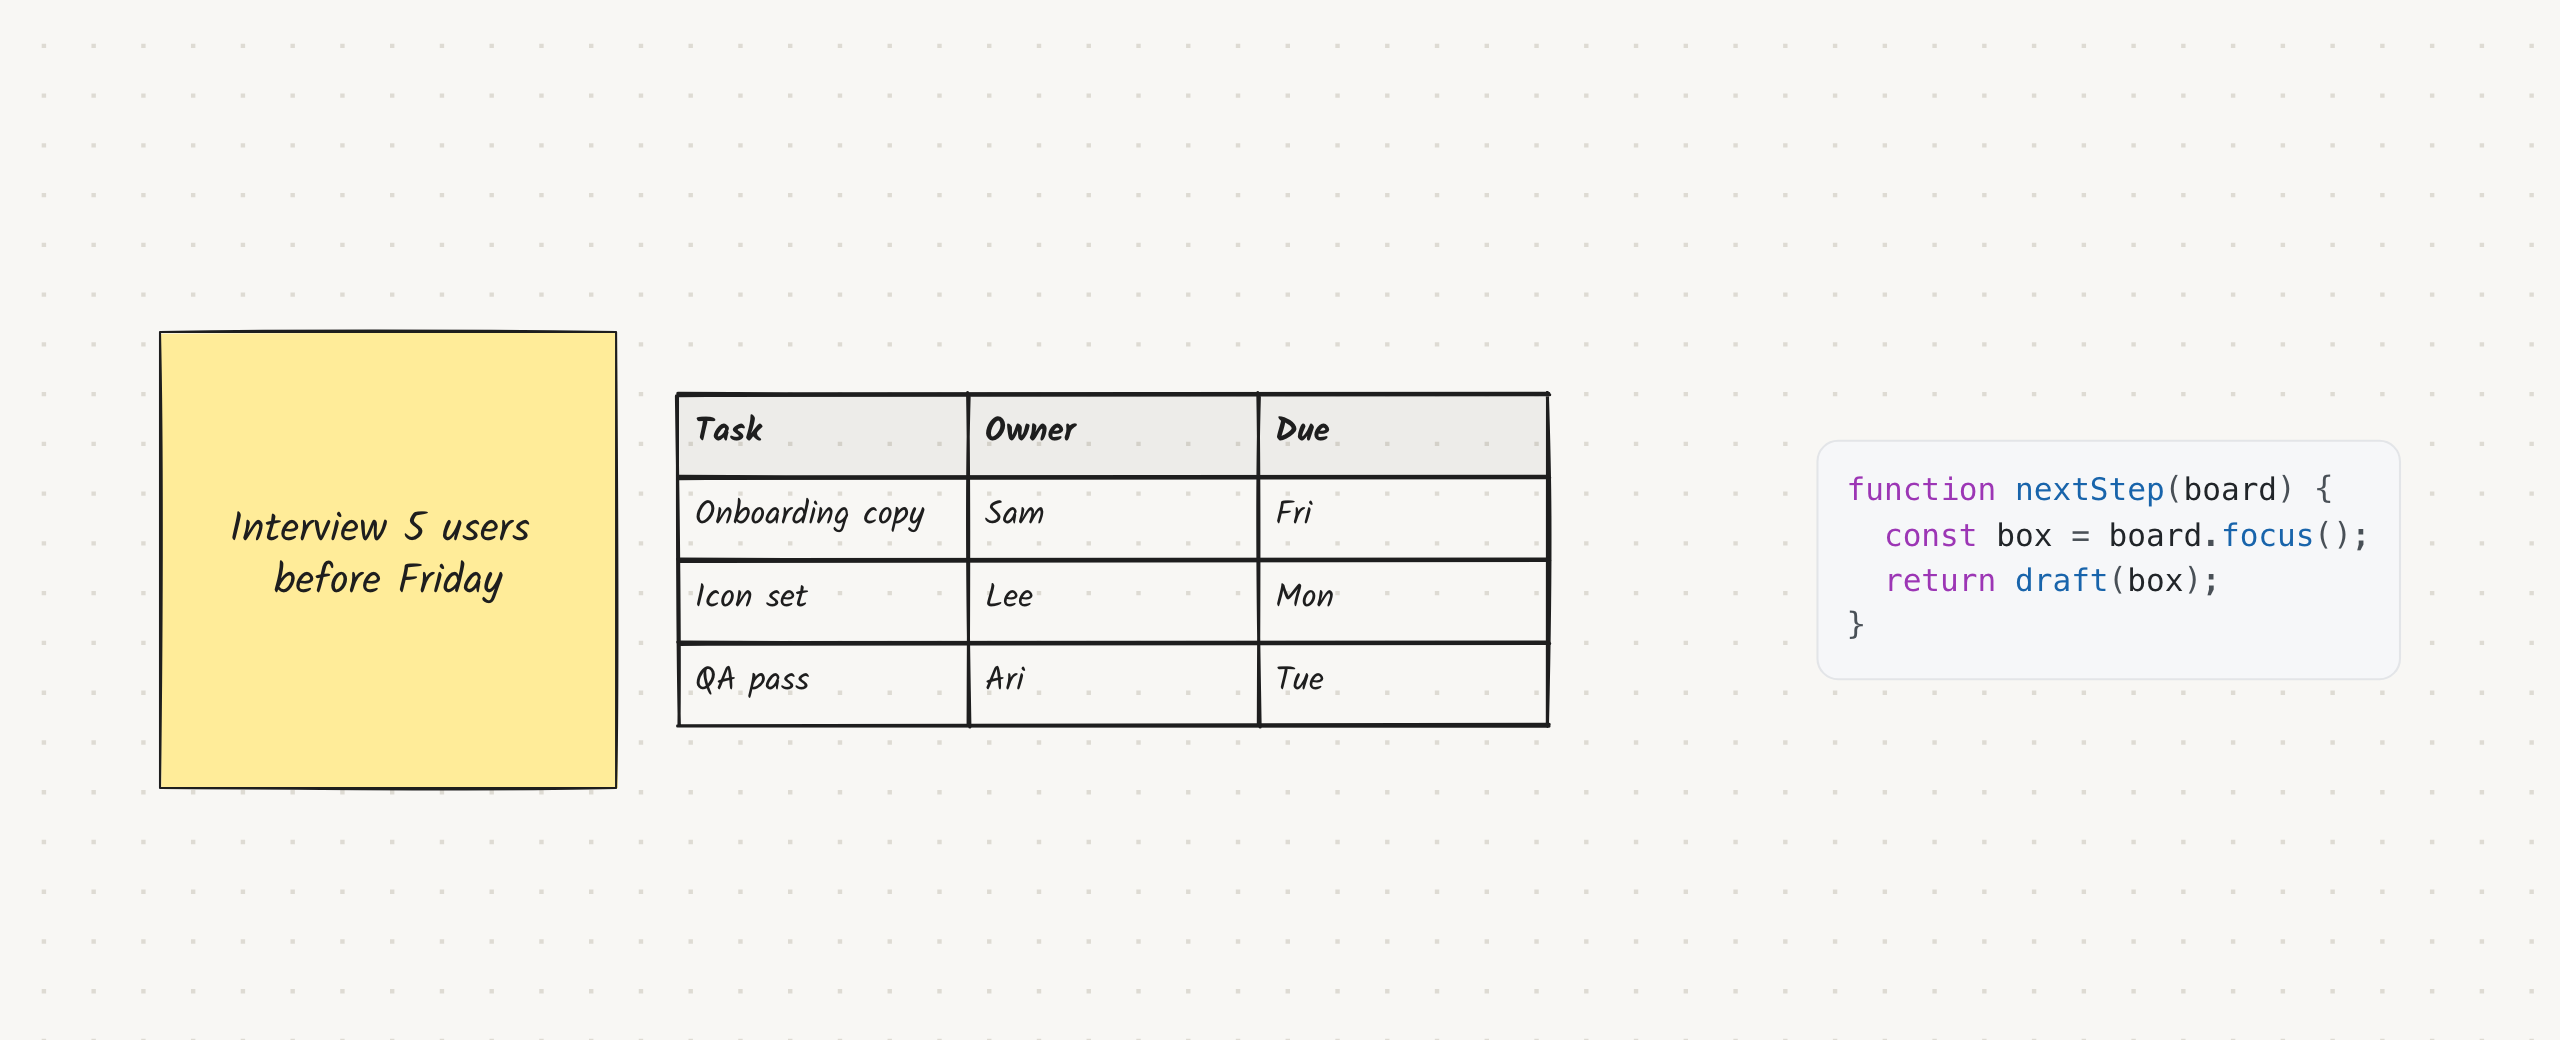
Press S, or choose Sticky note in the Insert menu. A yellow note appears in the middle of your view, ready for typing. A sticky is a box like any other, so you can link it, restyle it and resize it.
Tables
Choose Table in the Insert menu for a 3×3 table with a header row, or paste comma- or tab-separated text (two or more lines) to turn it into a table.
| While editing a cell | Does |
|---|---|
| Tab | Next cell. At the end of a row it moves to the next row; past the last row it adds a row |
| ⇧Tab | Previous cell |
| Enter | The cell below (adds a row at the bottom if needed) |
| ⇧Enter | New line inside the cell |
| Esc | Finish |
With a table selected:
- Click the + to the right of it to add a column, or the + under it to add a row. Double-click a + to add one and start typing in it.
- The selection bar also has + Row, + Col, − Row, − Col (adding or removing at the end) and Header (header row on or off).
Cells support rich text.
Column widths and row heights
- Drag a line between two columns or rows to resize just that column or row. On a selected table, the right and bottom edges resize the last column and row.
- Double-click a line to fit that column or row to its text.
- Making a column narrower wraps its text, and the rows grow to fit. Widen it again and they shrink back. A column can't get narrower than its longest word, and a row can't get shorter than its text.
- Typing in a cell widens its column to fit the text on one line, up to a limit. A column you narrowed so that its text wraps stays narrow.
- The corner handles scale the whole table, but never smaller than its text needs.
Code blocks
Choose Code block in the Insert menu, or paste text that looks like code.
- Code is shown in a monospace font, with syntax colouring that works across common languages. There's no language setting.
- While editing, Tab indents by two spaces and Enter is a new line. Esc or ⌘↵ finishes.
Images
Add images by any of these:
- choose Image or PDF in the Insert menu (+)
- paste an image (it's placed at your pointer)
- drop image files on the board (they're placed where you drop them)
Each image can be up to 25 MB. Images appear with their longest side at 600 px; resize them like any item. Images are stored on your device, and the same image used twice is stored once.
PDFs
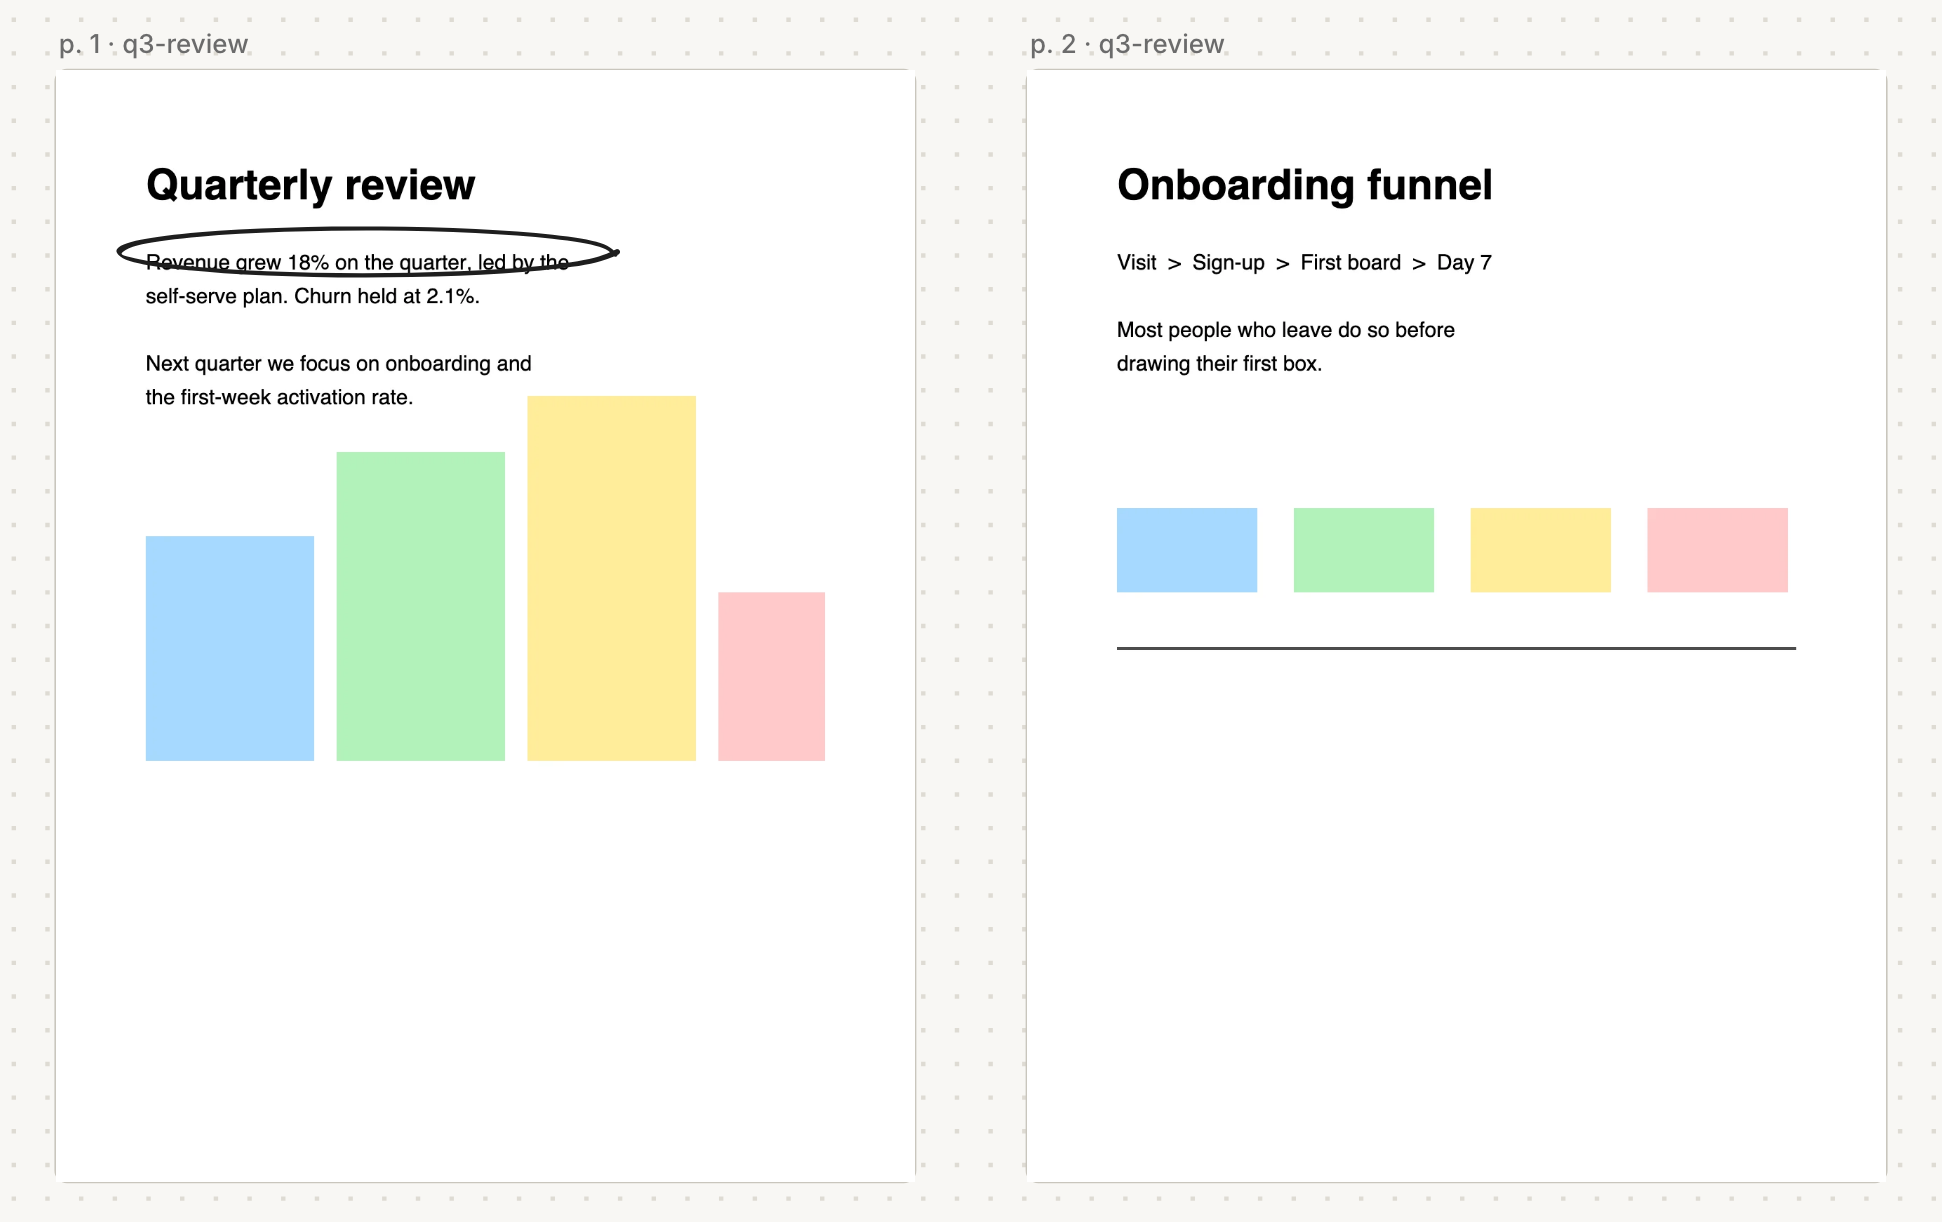
Bring a PDF onto the board to mark it up: choose Image or PDF in the Insert menu (+) and pick the PDF, drop it on the board, or paste it. If it has more than one page, a card asks which pages to import (for example 3 to 7).
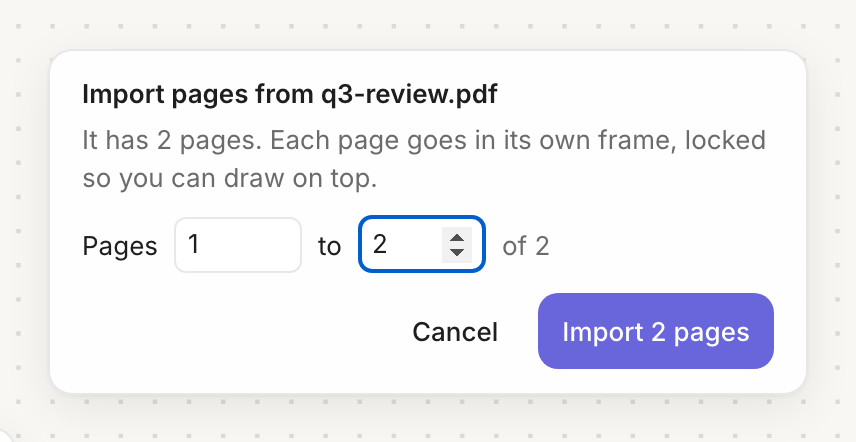
- Each page arrives as a picture in its own frame, named after the page and file (p. 3 · report), stacked top to bottom next to what's already on the board. Frames are slides, so you can present the pages too.
- Pages are locked, so you can draw, write and add shapes on top without moving them. Drag the frame's name to move a page; to resize or delete one, unlock it in the Layers panel.
- The pages are pictures: you can't edit the PDF's own text. The PDF is read in your browser and never uploaded.
- Password-protected PDFs ask for the password.
- PDF import needs an account: a free account keeps up to 5 PDF pages per board; Pro imports up to 50 pages at a time, as often as you like. See Accounts and plans.
Mind maps
Choose Mind map in the Insert menu, or select any box and click Mind map in the selection bar to make it the centre of one.
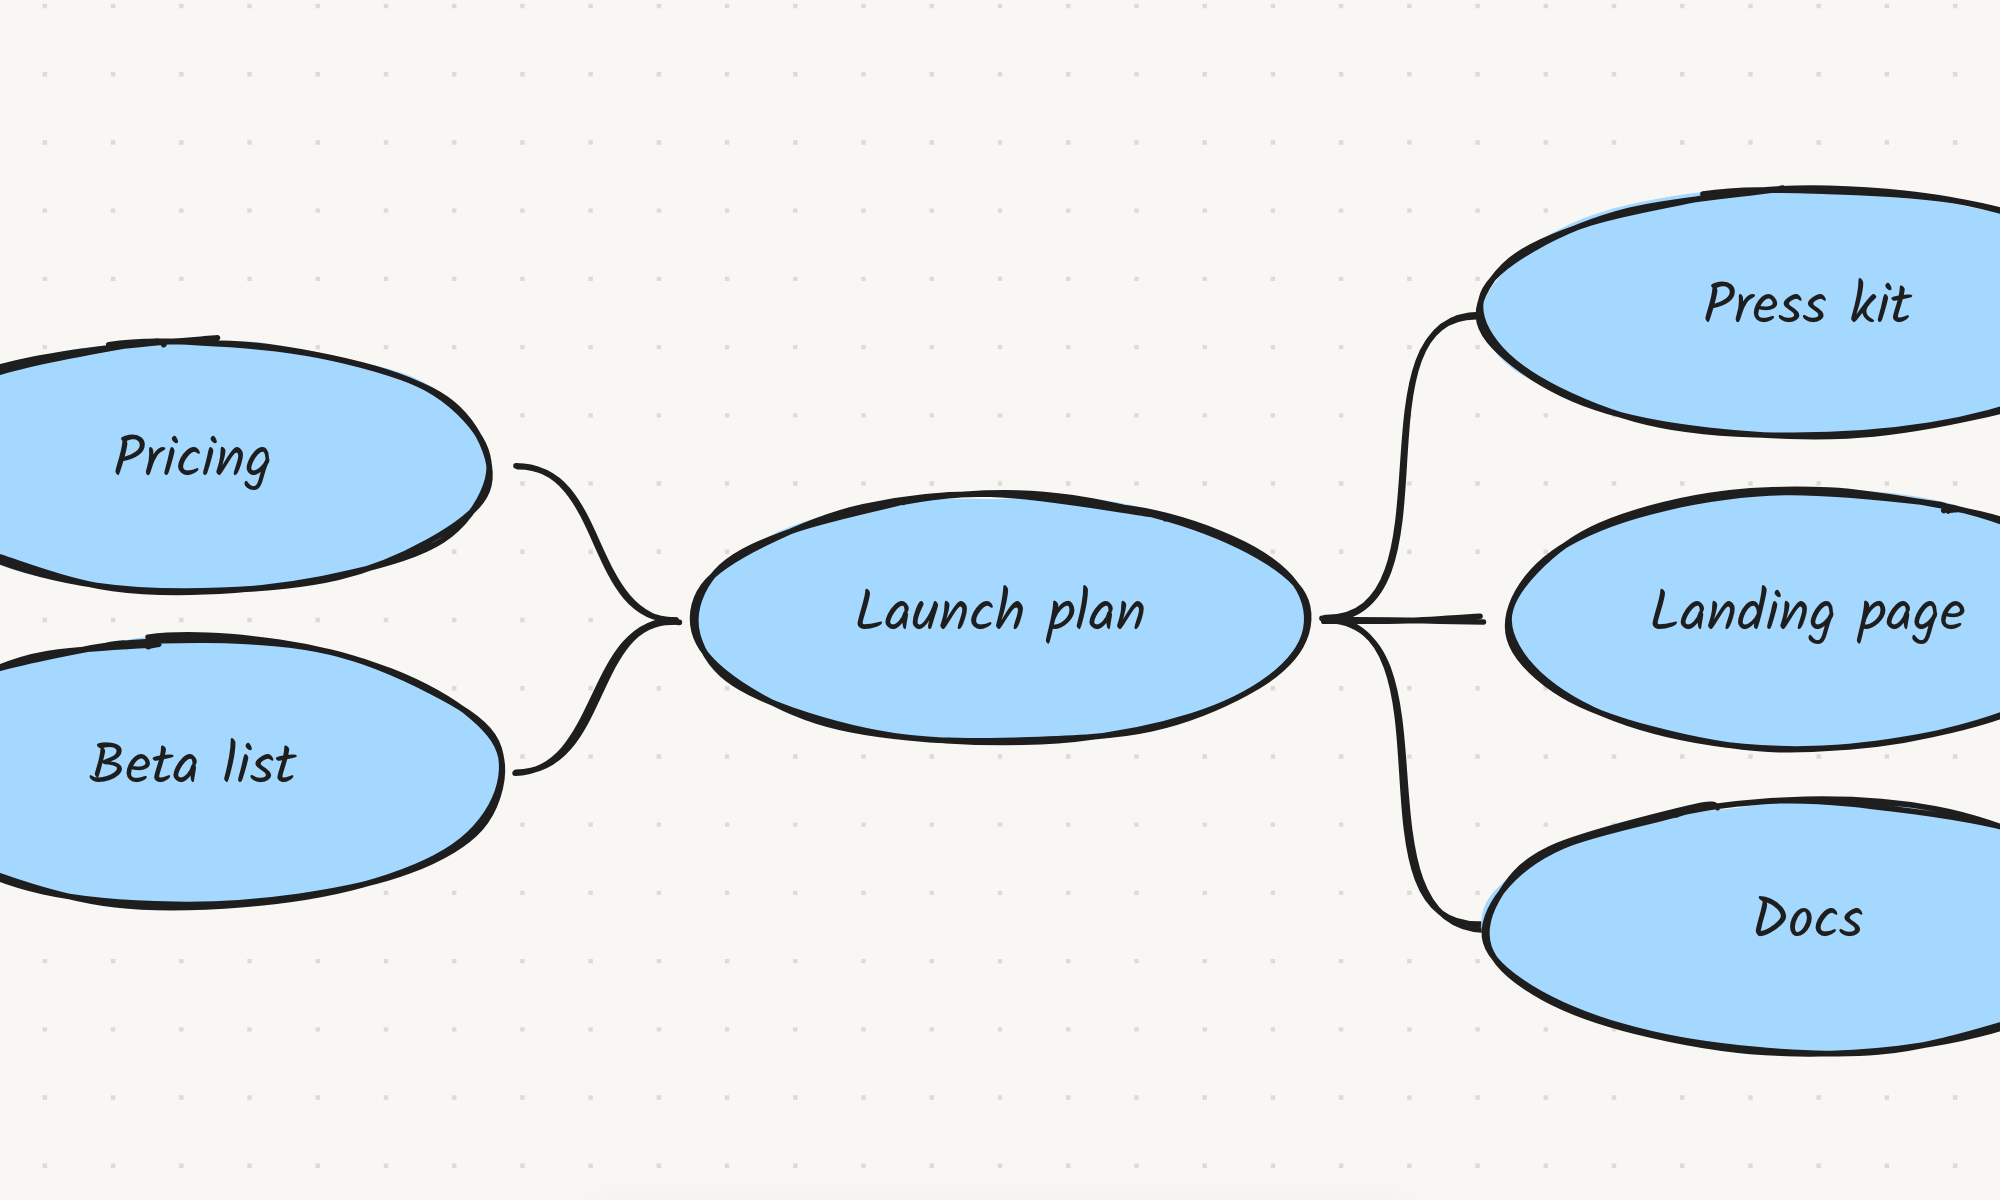
- Tab adds a branch and ⌘↵ adds a sibling. Branches arrange themselves on both sides of the centre and slide into place.
- Dragging the centre moves the whole map.
- To move a branch somewhere else, drag it over another node, hold until the ring appears, and let go. You can't move a branch under itself.
- Links in a mind map are curved and have no arrowheads.
- Click Mind map again on the centre to turn the automatic layout off.
Wireframes
Sketch the screens of an app or a website: press W, or choose Wireframes in the Insert menu. A panel opens on the left and stays open while you work, so you can add one part after another. Press W again (or ×) to close it. Wireframes come with a free account.
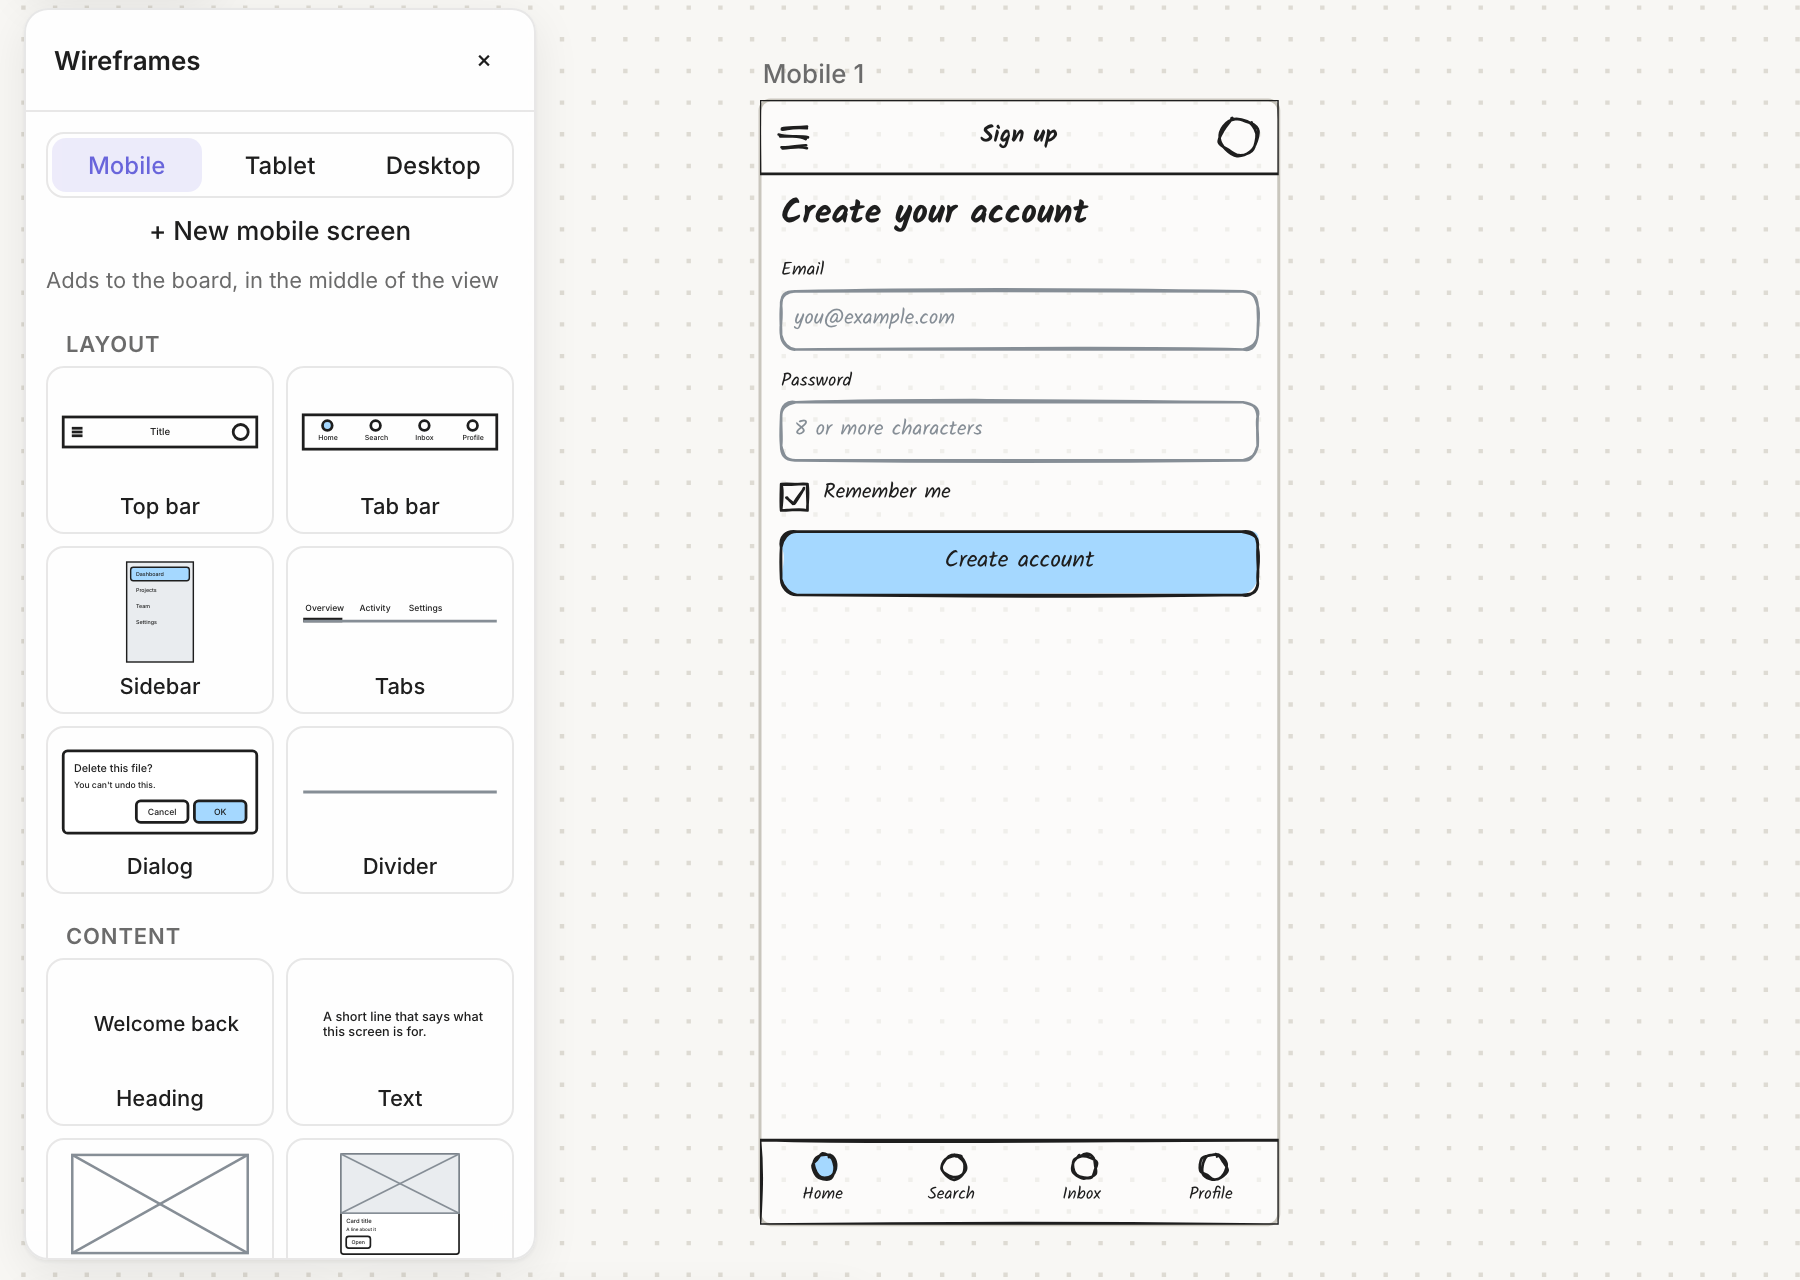
- Screens: pick Mobile, Tablet or Desktop, then New screen. A screen is a frame the size of that device, so it can be moved with everything on it, exported on its own and shown as a slide.
- Parts: top bar, tab bar, sidebar, tabs, dialog, divider, heading, text, image, card, list, avatar, table, chart, buttons, text field, search, dropdown, checkbox, radio buttons and switch. Click one to add it to the screen: a top bar goes to the top, a tab bar to the bottom, a sidebar down the left, and everything else below what is already there. When a screen is full it grows longer, like a page that scrolls. Or drag a part onto the board and drop it where you want it.
- Where it goes: into the selected screen (or the one holding what you selected; a part you just added is selected, so the next one follows it), else into the screen in the middle of the view. With no screen there, the part goes on the board as it is, in the middle of the view: handy for a table or a chart beside your notes. The panel always says where the next part goes. Click empty board (or press Esc) to stop adding to a screen.
- Changing them: a part is a group of ordinary boxes, text and lines. Double-click any word to change it, drag the part to move it, ungroup it (⌘⇧G) to take it apart. Each part you add is one undo step.
- Sketched or Clean: the switch at the bottom of the panel draws new parts in Kelvo's hand-drawn look, or with straight lines and the Normal font.
With Pro+, @kelvo draws whole screens for you: write @kelvo sign-up screen for mobile or @kelvo onboarding flow for a banking app in a text (see Ask Kelvo).
Frames
Press F and drag to draw a frame, or click for a 16:9 frame.
- A frame sits behind everything already on the board.
- Moving a frame moves everything fully inside it, and copying, cutting or duplicating a frame takes what's inside with it.
- A copied or duplicated frame lands just to the right of the original, or at the end of that row if something's already there, so copies line up like slides. (Paste here in the right-click menu pastes where you clicked.)
- Double-click a frame to rename it (new frames are called "Frame 1", "Frame 2" and so on).
Frames become slides when you present: see Presenting.
Pasting
What you paste decides what you get:
Image files become images, and a PDF file is imported as pages (see PDFs).
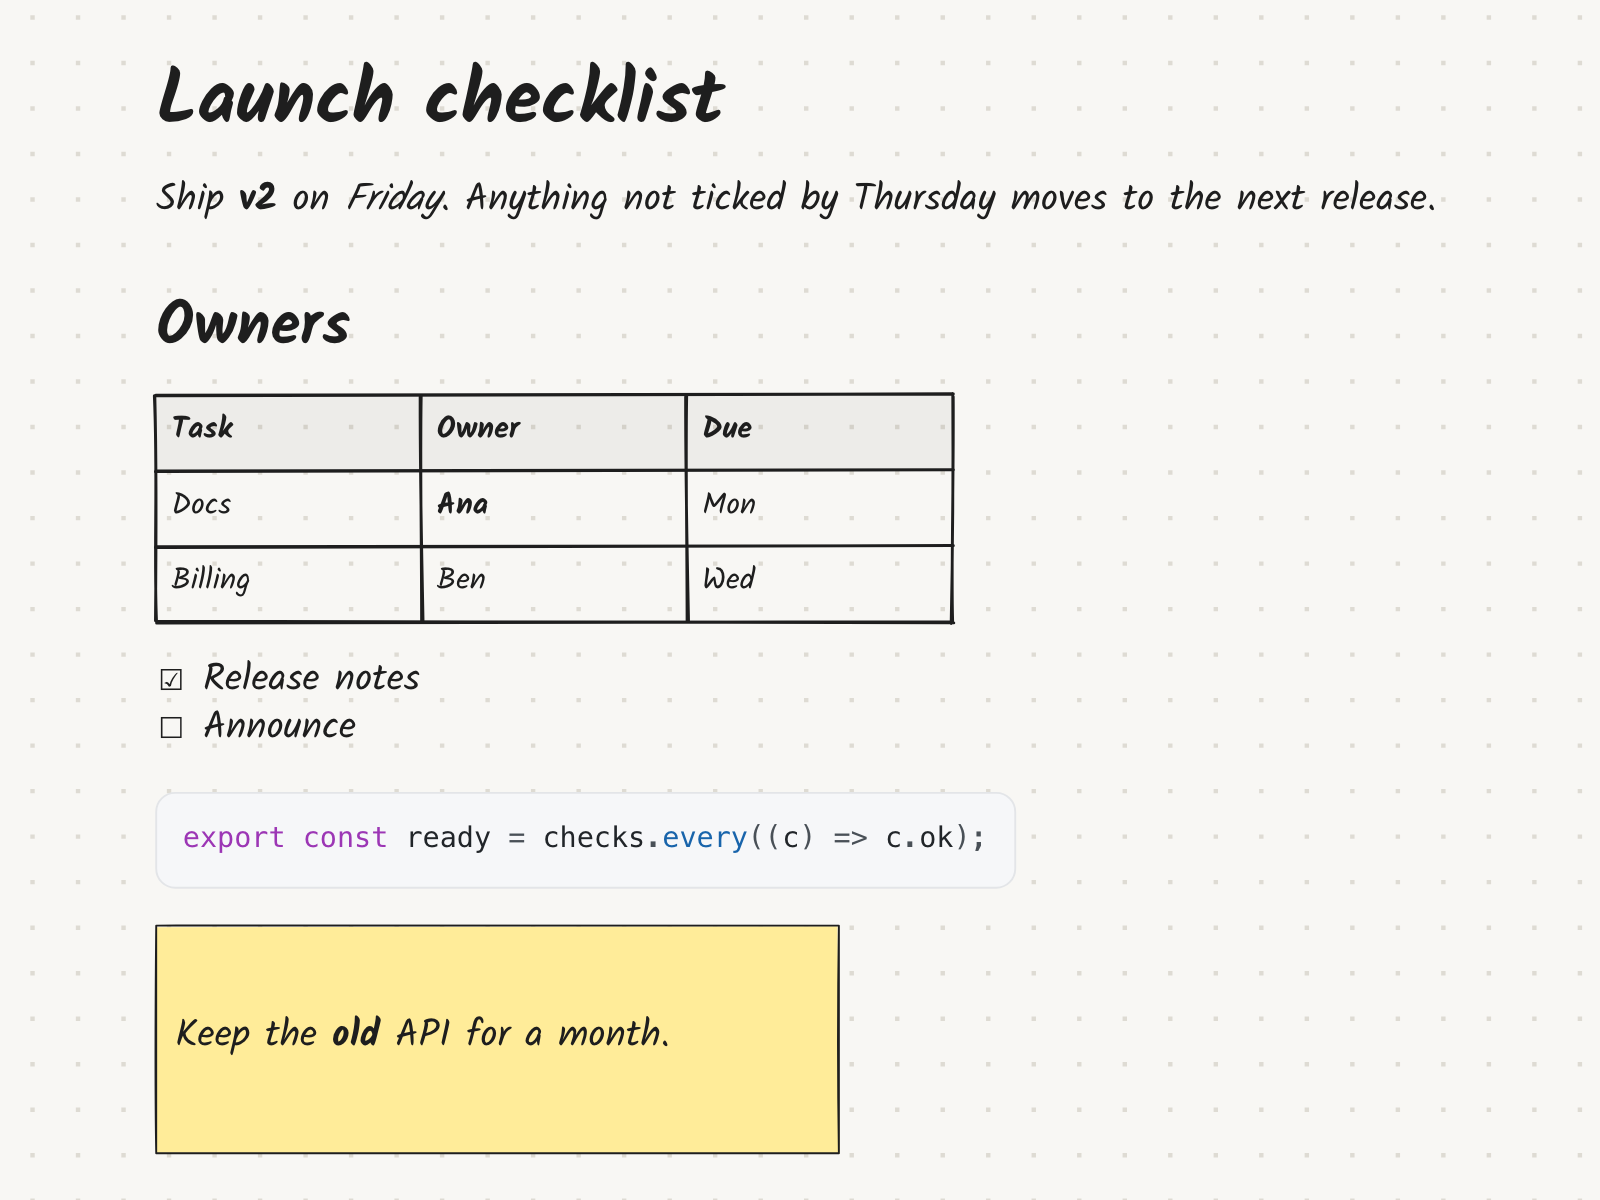
Markdown (for example an answer copied from an AI chat, or a README) becomes the board's own items, stacked in reading order and selected together: headings as large bold text, paragraphs and lists as text (long lines wrap, bold and italic are kept), tables as tables, fenced code as code blocks, quotes as sticky notes and
---as a divider. Plain text, a single list or source code still paste as one item.Kelvo or Excalidraw content pastes as shapes and links. Pasting a
.kelvofile's text pastes its first page.Something copied in Miro or FigJam pastes as Kelvo's own boxes, sticky notes, text, frames and arrows, where they were (see From Miro and FigJam).
Comma- or tab-separated text becomes a table.
Code becomes a code block.
Anything else becomes a text item.
⌘C, ⌘X and ⌘V copy, cut and paste. A copy keeps the links whose two ends are both copied. ⌘D duplicates the selection, links included. ⌘⇧C copies the selection (or the whole page) as a PNG image (this needs a free account).
Copying as Markdown
Copy as Markdown (right-click a selection, the board menu under Export, or the command palette) puts the selection, or the whole page if nothing is selected, on the clipboard as Markdown text, ready for a README, Notion, GitHub or a chat with an AI:
- text as paragraphs (large text as headings, bold, italic and lists kept), sticky notes as quotes, tables as tables,
code blocks as fenced code and divider lines as
---; - each frame as a
##section with what is in it; - a mind map as a nested list;
- boxes joined by links as a Mermaid flowchart, which GitHub and Notion draw and AI tools understand.
Items are read in rows, top to bottom and left to right. Pictures, pen drawings and free lines have no Markdown and are left out (Kelvo says how many). Pasting the Markdown back into Kelvo gives you its text, tables and code, not the original layout: to copy items between boards, use ⌘C.