Drawing
Shapes
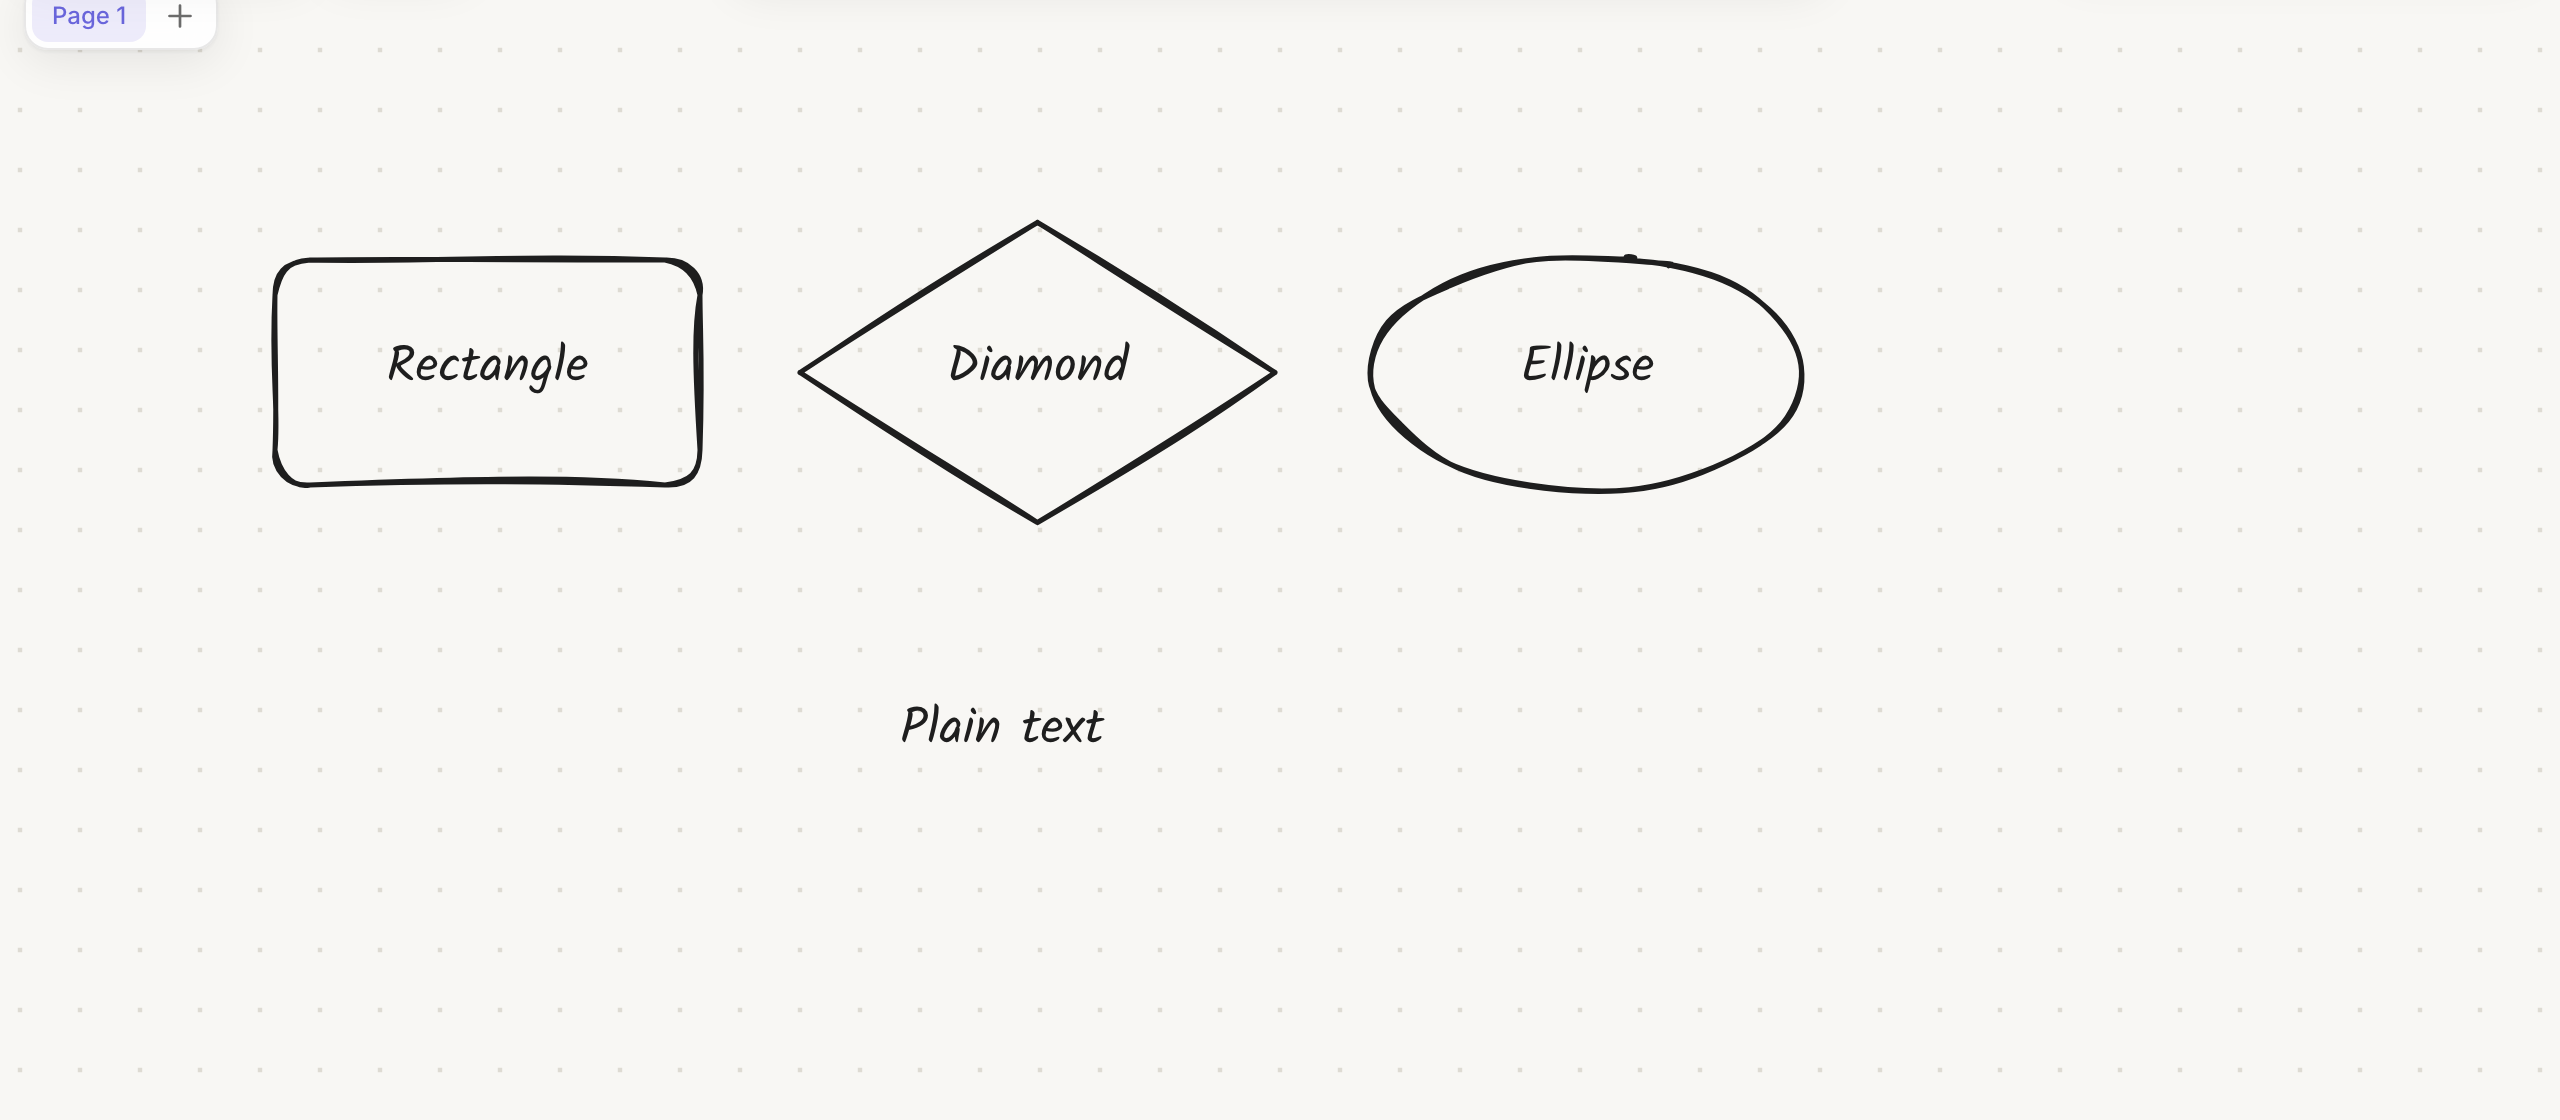
Press R (rectangle), D (diamond) or O (ellipse), then either:
- click for a standard size box, or
- drag to set the size. Hold Shift to make it square.
When you let go, the label opens for typing. Boxes grow to fit their label.
To edit a label later, double-click the box or select it and press Enter. Press Enter or Esc to finish; Shift+Enter starts a new line.
Resizing
Drag a corner handle of a single selected item.
- Shapes keep their proportions only while you hold Shift.
- Images and pen strokes keep their proportions unless you hold Shift.
The pen and shape snapping
Press P and draw. Kelvo uses every sample your pen or mouse reports, so ink follows your hand closely, and pen pressure changes the line width.
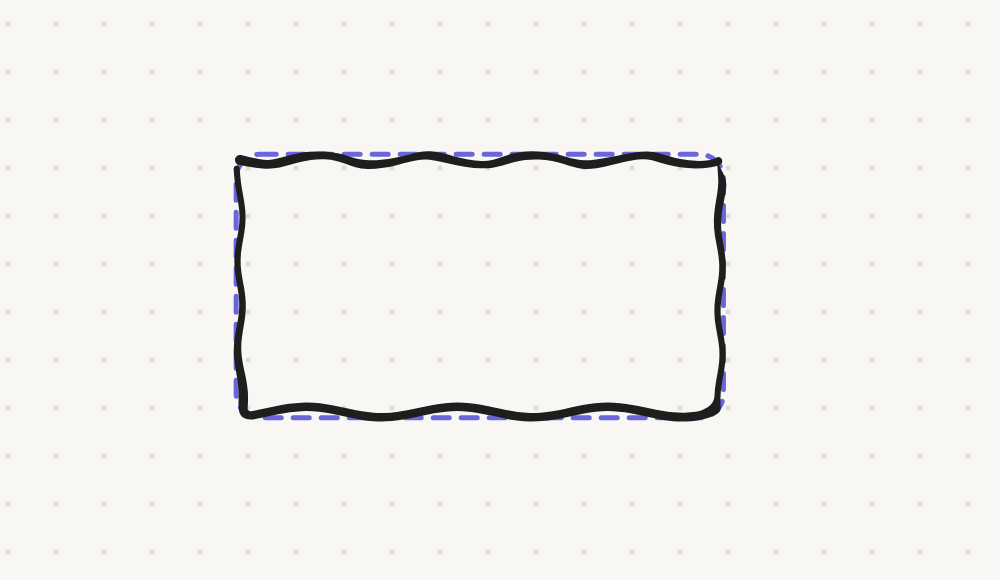
Draw a shape and lift the pen: it snaps. A stroke that is clearly a box, an ellipse, a diamond, a line or an arrow becomes a clean one when you lift the pen. Sloppy is fine: sides can lean or bow, the ends can overshoot or leave a small gap. Anything else (writing, doodles, a zigzag) stays exactly as you drew it.
- A suggestion before you finish. While you draw, once you're most of the way around a shape (three sides of a box, three quarters of a circle), its clean outline appears as a dashed preview. Lift the pen to take it, or keep drawing.
- Arrows. A line that ends in a small "V" becomes an arrow. Draw it from one box to another and it becomes a link between them. A curved stroke becomes a bent line or arrow.
- One undo brings your drawing back. A short note says what it snapped to; press ⌘Z to keep your stroke as drawn instead.
- Hold still to label it. Pause at the end of a stroke for a moment: the preview appears, and when you lift, the box opens for typing its label.
- Turn it off: board menu → Preferences → Pen drawings → Keep as drawn, or search "Pen" in the command palette. Holding still at the end of a stroke still snaps it.
Snapped shapes are normal boxes and links: double-click one to type its label. After a snap on lift the pen stays selected, so you can keep drawing.
Pen and fingers: once Kelvo has seen a stylus, fingers pan the board instead of drawing, so your palm can't leave marks. This lasts until you reload the page.
The eraser
Press E and drag over what you want to remove.
- Shapes, text and links that the eraser touches fade, and are deleted when you lift.
- Pen strokes are cut where the eraser passed, so you can erase part of a stroke.
- The eraser end of a stylus erases whatever tool is active.
Erasing is one undo step.
Text
Press T and click to type free text, or double-click empty canvas. Text that's left empty is removed when you finish. Pasting plain text creates a text item (up to 5,000 characters).
Rich text
Labels, link labels and table cells support formatting.
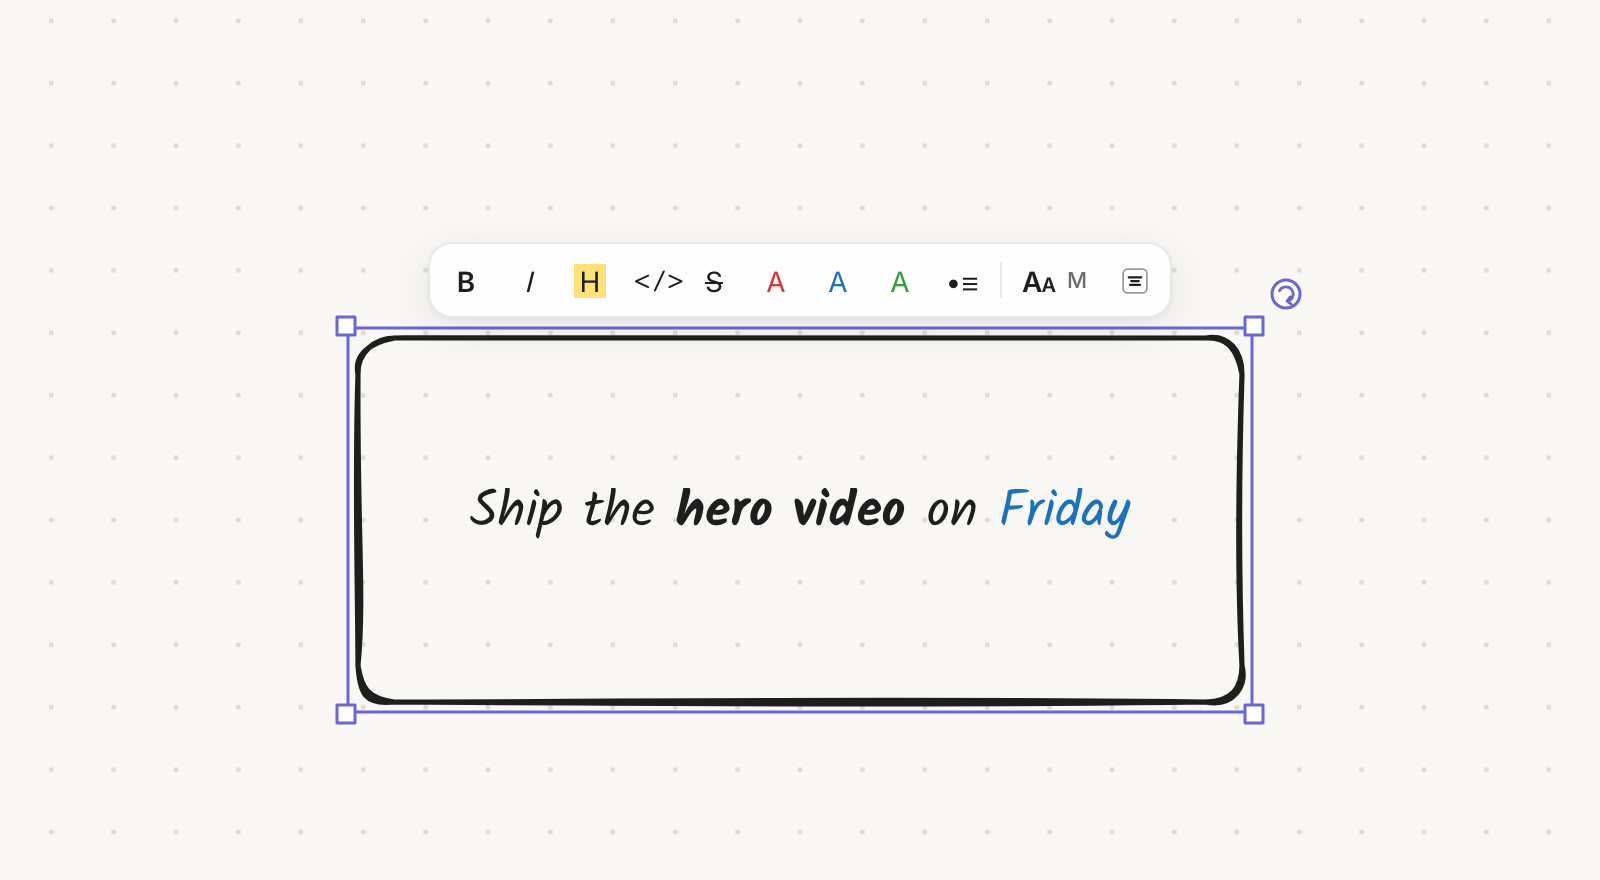
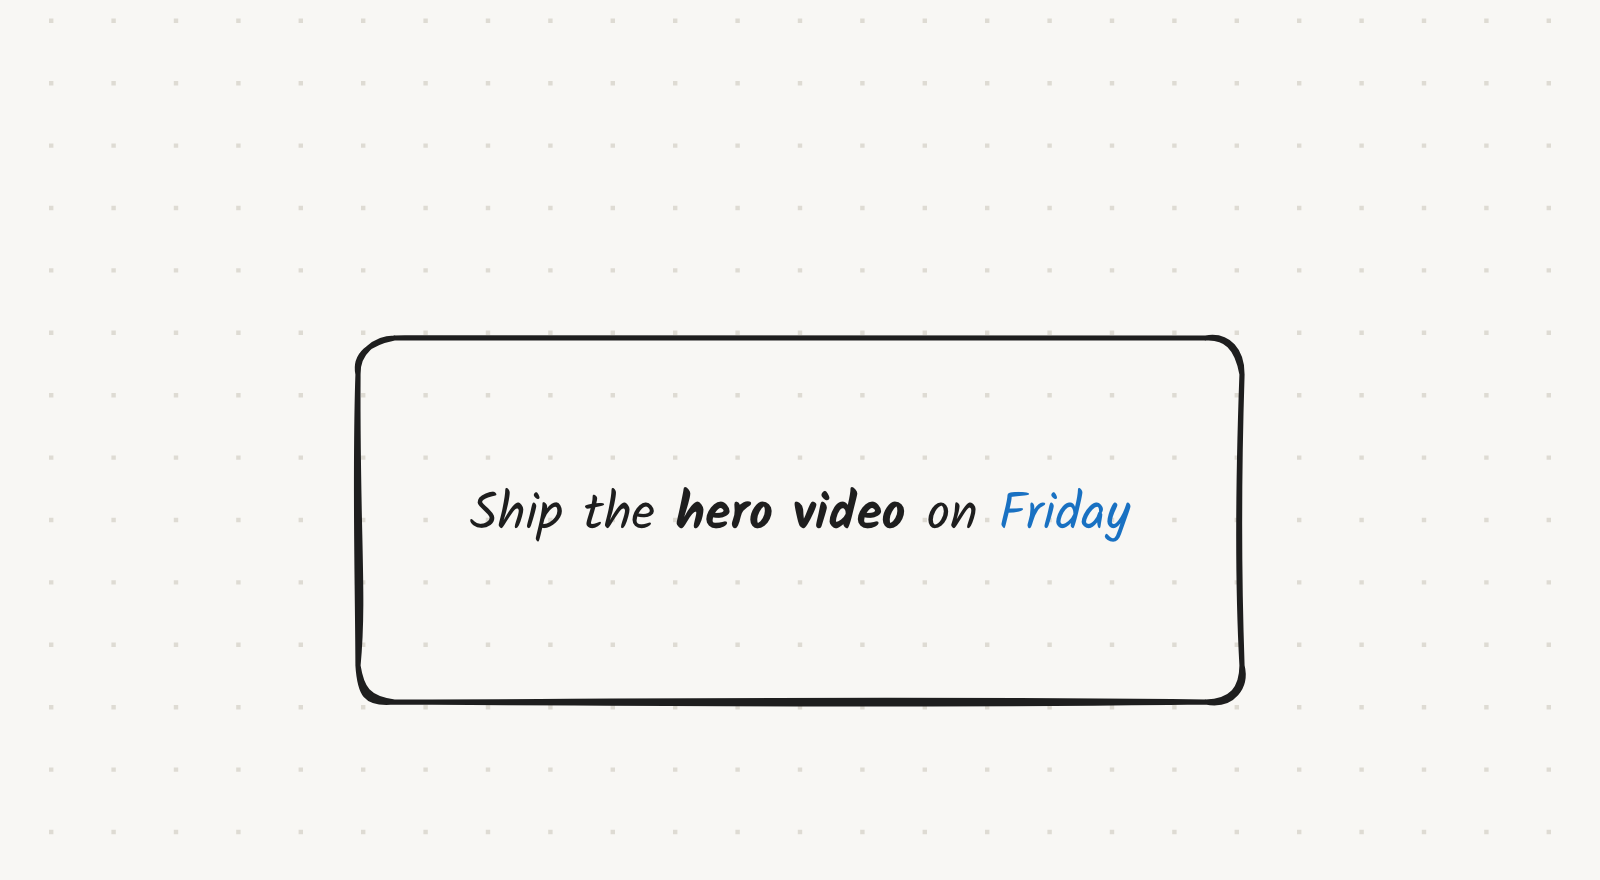
- Select text and use the bar above the editor, or use the shortcuts in the table.
- While you type, the markup is visible (for example
**bold**). It renders when you finish.
| Format | Shortcut | Markup |
|---|---|---|
| Bold | ⌘B | **text** |
| Italic | ⌘I | *text* |
| Highlight | ⌘⇧H | ==text== |
| Inline code | ⌘E | `text` |
| Strikethrough | ⌘⇧X | ~~text~~ |
| Red, blue or green text | Format bar buttons | {red}text{/} |
| Bulleted list | Format bar button | - item at the start of a line |
The end of the format bar has two more buttons that change the whole label, not just the selected text:
- Font size (the Aa button, which shows the current size): S, M, L or XL. The box resizes to fit.
- Font (the button next to it, written in the current font): Hand (the default), Normal or Serif. The box resizes to fit.
- Text position (boxes only): a 3×3 pad that puts the label at the top, middle or bottom of the box, on the left, in the centre or on the right. The button's icon shows where the label sits now.
Both stay in edit mode, so you can keep typing. Esc closes an open menu without leaving the label.
The full markup, including more colours and numbered lists, is in Text formatting.
Styles
Select one or more items and use the selection bar.
Shape: the first button shows the box's shape. Click it to switch between rectangle, decision (diamond) and ellipse. The label stays, links stay attached, and the box grows taller if the new shape needs more room for the text. It works on several boxes at once and is one undo step.
Stroke colour: six swatches, black, red, green, blue, orange and purple. The colour you pick also becomes the colour for new shapes.
The Style popover (the sliders icon in the selection bar):
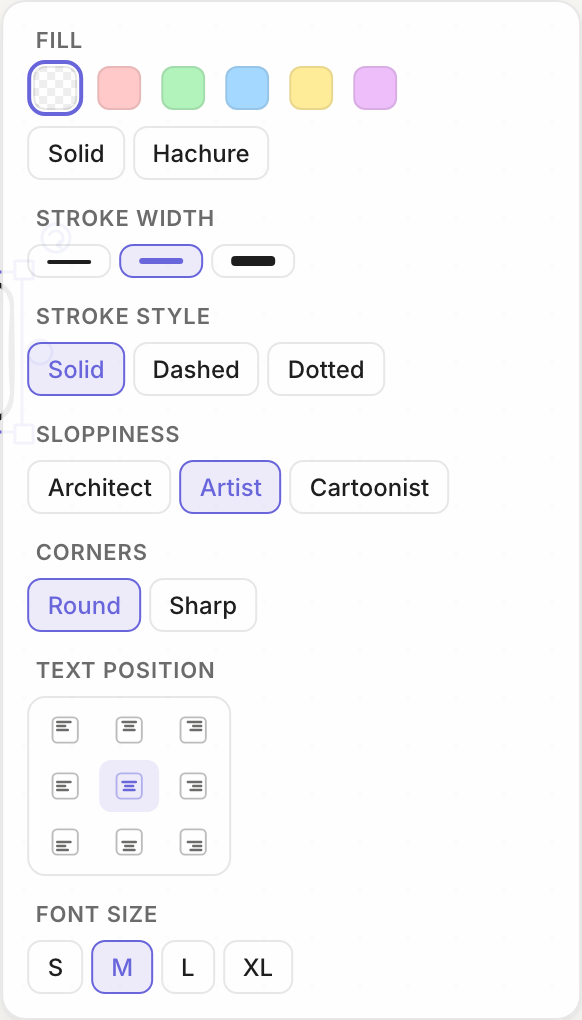
| Setting | Options |
|---|---|
| Fill | None, red, green, blue, yellow, purple. Choosing a colour uses the Hachure style; switch it to Solid if you prefer |
| Fill style | Solid, Hachure |
| Stroke width | Thin, medium, thick (1, 2 or 4 px). Also used for new shapes |
| Stroke style | Solid, Dashed, Dotted |
| Sloppiness | Architect (clean), Artist, Cartoonist (sketchiest) |
| Corners | Round, Sharp (rectangles only) |
| Text position | A 3×3 pad: top, middle or bottom, and left, centre or right. Boxes and icon objects; free text is unaffected. Arrow keys move around the pad |
| Font size | S, M, L, XL. The box resizes to fit |
| Font | Hand (the default), Normal or Serif, for boxes, sticky notes and text. Code blocks keep their own font |
Start every shape your way. Board menu → Preferences has the same choices, for what you draw next: pick a fill, stroke, corners, text position, font size and font once, and new shapes on every board start like that. Links sets how new links are drawn: Elbow (the default), Straight or Curved. Mind-map branches stay curved. Preferences are saved in this browser; nothing already on a board changes, and Reset to defaults undoes them.
Labels are centred by default. A label pushed to an edge keeps a little padding from it; in ellipses and diamonds it stops where the curve would cut it off. If a label is too tall for the room it was moved into, it stays centred.
Labels use the hand-drawn Kalam font. Code uses a monospace font. There is no font picker.
Dark mode and backgrounds
Open the board menu (click the board name) → Preferences:
- Theme (under This browser): Light, Dark or System. Boards start in Light until you pick one. This is set per device.
- Background (under This board): Dots, Grid, Lines or None. This is set per board.
Dark mode redraws ink and fills in dark colours, so boards stay readable. Exports are always light.